Uploading Files with through FTP
This guide will show you how to upload your website to our server through FTP. It is assumed that you have a copy of all of your images
and HTML documents somewhere on your local hard drive. For this guide I am using AceFTP.
This guide is designed around this FTP client. There are several FTP clients available and I cannot write a guide for each specific one,
we recommend AceFTP because it has a Freeware version. If you run into issues using a different FTP client, you will need to consult its
documentation or contact their support team for help.
To start this guide a few things should be noted:
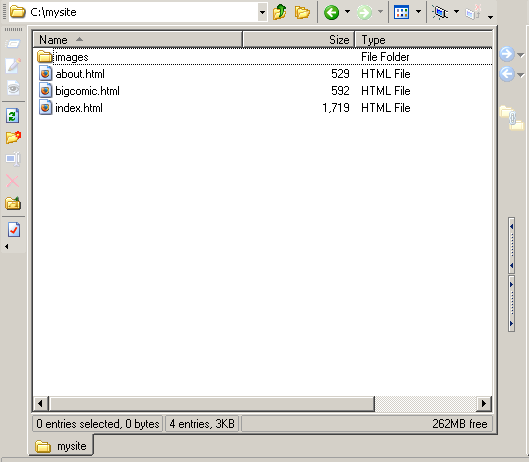
- My Local Directory - I have my HTML documents and images stored in c:\mysite You will see this in some of the images throughout this guide. You will need to change this to whatever the local path is that you have your HTML documents stored on your local computer.
- My Domain Name - For this guide, I am using the domain name upload.amssupport.info Again, you will need to change this to reflect your domain name. When connecting via FTP you can use either your domain name or your IP. Both of these are present in your Welcome Letter. You should only use the IP while your domain name is not resolving to our server. Once your domain name is resolving to our server and when you want to make changes, we recommend that you use your domain name to connect via FTP.
A note about HTML filenames
When you visit a website, any website such as http://yourdomain.com, http://google.com, or http://yahoo.com the main page that is displayed is called the index page. The index page is basically the first page that you see when you just visit a domain name and do not specify a specific file to view. The webserver is configured to recognize specific files as the index page. On our servers, you should use index.html or index.htm as the filename for the main index page. This means that whatever HTML file you want to be displayed when you first visit http://yourdomain.com should be saved on your computer as either index.html or index.htm. When this file is uploaded to the webserver in your public_html directory then the contents of this file will be displayed in a browser when someone visits http://yourdomain.com. Generally, index.html will take precedence over index.htm. The best solution is to only have file, so that you can keep up with what is being displayed. I would suggest that you pick a naming convention, either you use .html file extensions or .htm file extensions on your HTML documents. There really isn't any difference in either file extension, just use which ever one you feel most comfortable using.
The first thing to point out is how I am calling images in my HTML code.

This is a piece of the HTML code that is in my HTML document. Notice the src parameter images/userfriendly_sm.gif. This is a relative path
because there is no preceding slash. Basically this means that wherever the HTML document is that contains this code, a web browser will
look for a directory named images directly underneath that location. In the images directory, the browser will look for a file
named userfriendly_sm.gif and display that image.
When you first go to your website, if it is pointing to us and no changes have been made, you might see webpage that looks like:
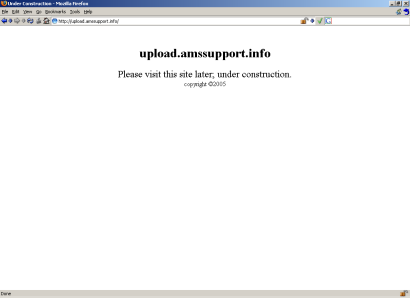
This is just a generic placeholder. You will want to upload a new pages to create your own website.
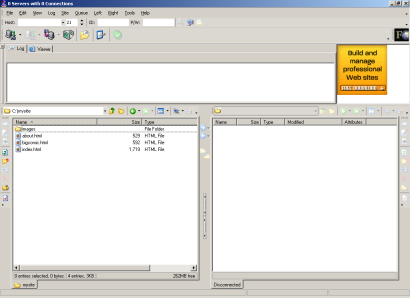
Once you have your HTML code created and/or saved on your local hard drive, you are ready to upload the files to the webserver. This is
where AceFTP is used. After you have installed AceFTP, when you run it you should see a screen similar to:
PLEASE NOTE: Again, my HTML documents are located on my computer at c:\mysite. This is likely not the same for you. You
will need to be able to change to the directory where your HTML documents are saved on your local computer.
A few important things to notice in AceFTP are the Connection Bar, the Local File Listing, and the Remote File Listing:

Connection Bar
Local File Listing

Remote File Listing
Now you will want to fill out the Connection Bar with your account details. Enter your domain name (or IP) in the field labeled Host:.
Enter your Account Username in the field labeled ID:. Enter your Account Password in the field labeled P/W:.

Notice that when you fill this information in, the icon beside the P/W field becomes clickable. This is the Connect button.
Once you have your information entered in correctly, click the Connect to connect. You will notice that the Remote File Listing has changed.
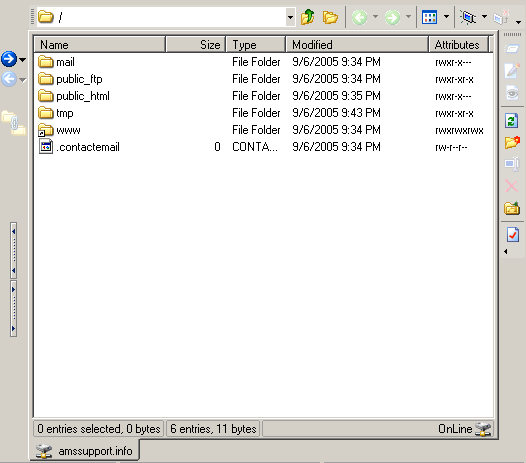
This is the current directory structure of your account on the server. Double click on the public_html directory.
The public_html directory is where you want to upload anything on your account that is web accessible. This means that anything you
upload in your public_html directory will be accessible by going to http://yourdomain.com/yourfile

When you change into the public_html directory the file listing will refresh to show the files that are present in that directory.
You will see a file named index.htm. This is the placeholder file that was seen previously when you went to your domain name.
Since you are uploading a new website, you will not need the index.htm file any more, so you can delete it. Just highlight the index.htm
file and press Delete.
Now we want to transfer our HTML documents onto the webserver. In the Local File Listing side select all of the files that you want
to transfer. You can do this by selecting the top file or directory and press Shift and using the down arrow key to go all the way
to the bottom. This will highlight all of the files/directories in that directory. Or you can hold Ctrl and Single Click
on the files that you want to transfer. This will highlight only the files that you have selected. After you have the selected files, click
on the arrow that is pointing to the right, that is between the Local File Listing and the Remote File Listing.
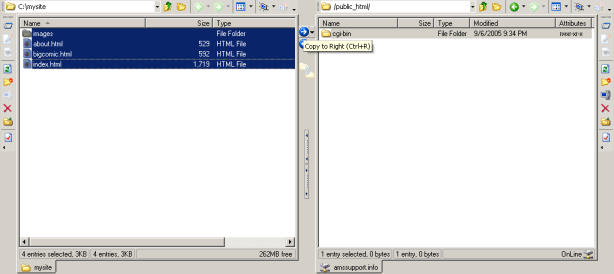
When you click on the Copy to Right button. The files will begin to transfer. A window will popup that shows your transfer progress.
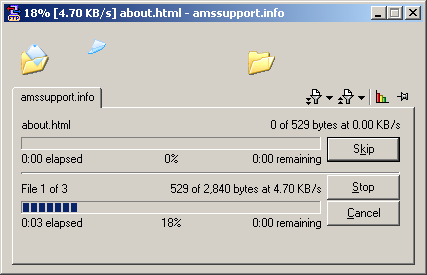
After this process is complete, the Remote File Listing will refresh to show you the new file structure. This should include the files
that you just uploaded.
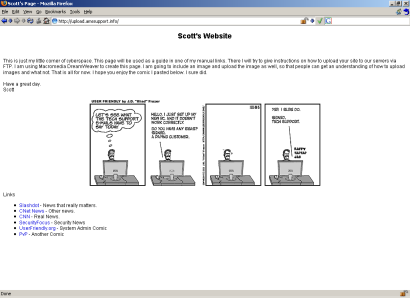
Now when you go to your website, you will see the pages that you created and uploaded to your site.
I hope this guide has been helpful for you. As always you can use our Support Form if you
encounter any problems. Please be sure to provide as much detailed information as possible so that we can investigate and resolve any issues.